Hi, Stroly users! This is Kaoru!
Stroly has the ability to add Landmark Pins to your maps to include more information about a place.
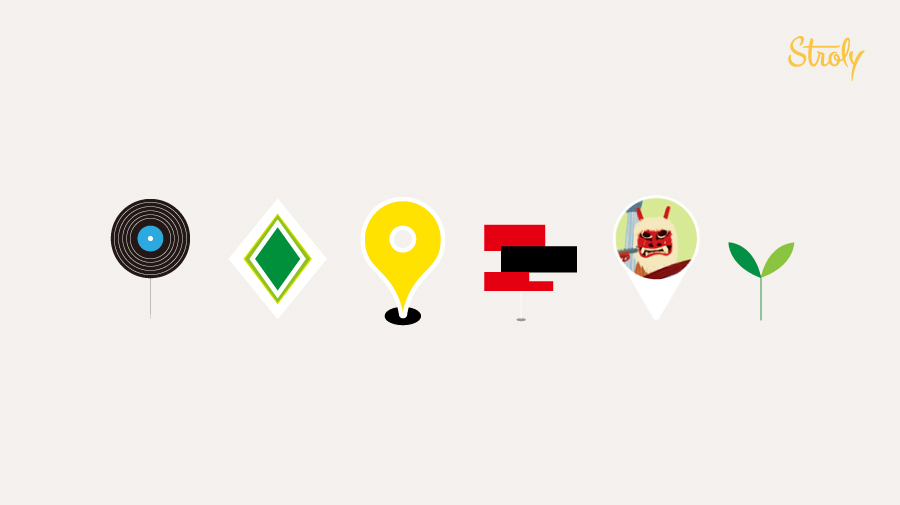
But did you know you can use your own designed icons instead of the default one?

Before I explain how to do this, let me tell you the great benefits of using Landmark Pins. You can….
– Add information in detail about a place that couldn’t fit in the base design of your map
– Lead towards places that you want to put emphasize on
– Add photographs or videos of the place to enrich your content
Isn’t it great? If you use Landmark Pins on your maps, you can share your story in a more in-depth way.
To get started, let me show you some pins I have made for my maps!
The first one is from “ Kyoto Record Map 2019”
I made this map to promote that Kyoto is the fourth-largest city in Japan with vinyl record shops. Nobody asked me though…but I just had to share this! (quotes: https://recoya.net/japan/kyoto).
I designed a Landmark Pin to resemble a vinyl record to match the theme.
This also helps present how dense the record shops are in an area at a glance. (By the way, I haven’t finished listing all the stores yet. I’m adding them little by little.)
The cool part of this pin is that the color changes between “ON” and “OFF”, depending on if it’s tapped on or not.

The next example is from “Spring Kuramae Walk Map ver.2”
This is a journal map from when I took a walk around Kuramae, Tokyo.
I made customized pins to highlight places that were particularly impressive to me.
I had two ideas for these Pins. I wanted to make them eye-catching, so I designed different illustration for each pin and made it big.
Also, I added the design of “ココ(HERE)” so that the Pin design will change when you tap it. The selected Pin will stand out in this way, and you can see clearly which information is displayed.

And here is the last example, “KYOTOGRAPHIE’2019 MAP kind of Rakuchu area”
This map is the 2019 edition of the “ KYOTOGRAPHIE”, a month-long photography exhibition festival held in Kyoto every spring, and its satellite event “KG+” venue map.
One of my hobbies is taking photos and I love to go to see exhibitions. Every year, I look forward to participating in this festival. However, the scale of the event grows every year, and many venues are now spread throughout Kyoto! When I want to visit multiple venues, I find it hard to plan my best route between my current location and where the next exhibition will be.
So, I unofficially created this map to solve my own problem.
I designed Pins for this map with two ideas in mind:
First, I wanted users to see both venues of “KYOTOGRAPHIE” and “KG +” in one map, so I created different Pins for each of them.
In addition to that, I made two types of Pins: “During Exhibition” and “Exhibition Ended” especially for “KG +” because the dates are not constant.

This is off topic but during the exhibition, I was changing Pins manually every day between “During Exhibition” and “Exhibition Ended”. In the process, I found myself more familiar with the locations of “KG +” venues and the galleries.
To sum up, the three examples are customized for three purposes: to match the design of the map, to lead users to the places where you want to put emphasis on, and to display many venues and complicated schedules for an event.
Other than the above, Landmark Pins can be used in various ways, so I’ll keep researching more to find out good usage of it.
Now, let’s take a look at how to create a customized pin, and how to add it to Stroly Editor.
1.open an image creation tool such as Illustrator, Adobe Photoshop or Procreate. Any tool you are comfortable with will work.
2.Create an artboard with the side of 100pixel x 100pixel

Tips for designing customized Landmark Pins
– Size
Consider adjusting the size of your Pin appropriately according to the size of your map.
If the size of Pins is too big, users may have a tough time tapping the one they want to see or mistakenly open another one.
– Visibility
Do you want to make the Landmark Pins to stand out? Or do you want them to fit in your map? The color is an important factor to consider because it will change the whole image of your map. Using a little shadow to make it appear as if it’s floating on a map is another way of presenting.
– Design
Make it visible so that it can be identified as a Landmark Pin. Some may not tap on it if it looks like a part of your illustration map.
We recommend adding a “tip” to the bottom of the Pin.
– ON/OFF
You can arrange your Pin so that it changes the design or color when it tapped. In this way, users can identify better the information they are reading.
ON: Selected. The information is shown at the moment
OFF: NOT selected
Save the design with “.PNG”!
Once you create a customized pin, let’s add it to Stroly Editor.
Step1
Open Map editor, and go to [LANDMARK]
Click the Landmark Pin icon under [All categories].

Step2
Click [Add new category].

Step3
In the third and fourth columns, click [Choose File], and carefully select images. The [Default icon] is for “OFF” and the [Selected icon] is for “ON”.

Step4
After uploading the Pin images, enter the name of the Pin in [Category Name] so that you can easily find it later.

Now, you saved the customized Pin!
Make sure to press [Save as draft] to save it.
When you want to add your customized Landmark Pin to your map, click [PLACE].

Then, under [no name], select the [the name you set earlier(in this case, Record)].
Congratulations! You added the customized Landmark Pin to your map.

You can continue to add it if you go to [All categories] next to the [PLACE] and select [name you set earlier (Record)].
Why not create your original Landmark Pin for your map!
If you have any questions, please let us know via FAQ, Zendesk(Submit a request).
I’m looking forward to seeing maps with cool customized Landmark Pins!